 Skip to content
Setup and Installation my Orbi WiFi Range Extender
To set up and install an Orbi WiFi Range Extender, follow these steps:
- Find a suitable location: Choose a location for your Orbi WiFi Range Extender that is centrally located between your router and the areas where you need better WiFi coverage. Ensure that the location is within the range of your existing WiFi network.
- Power on the Range Extender: Plug in the Orbi WiFi Range Extender into a power outlet near your router. Wait for the LED lights on the extender to turn solid white.
- Connect to the Range Extender’s network: On your computer or mobile device, go to the WiFi settings and connect to the network named “NETGEAR_EXT” or “Orbi Extender.” The default password is usually printed on the extender itself or provided in the documentation.
- Open a web browser: Launch a web browser on your device and enter “https://mywifilogon.com/” or “http://192.168.1.250/” in the address bar. Press Enter to access the Orbi Range Extender setup page.
- Create an account or log in: If you are setting up the extender for the first time, you may need to create a new account with Netgear. Otherwise, log in using your existing account credentials.
- Follow the on-screen instructions: The setup wizard will guide you through the process. It will detect your existing WiFi network and ask you to select it. Choose your network from the list and enter the network password if prompted.
- Choose your WiFi network name and password: You can either use the same WiFi network name and password as your existing router or create a new one. Follow the instructions to set up the desired network name (SSID) and password for your extended WiFi network.
- Complete the setup: Once you have configured the network name and password, click on “Finish” or “Apply” to save the settings. The extender will then connect to your existing WiFi network and create a seamless extended network.
- After it follow the instructions on the screen.
- Test the extended network: Disconnect from the extender’s network and reconnect to your extended WiFi network using the new network name and password. Move around your home or office to ensure that you have a strong WiFi signal in all desired areas.
Orbi Mesh WiFi Extender Setup
Here are the general steps for setting up and installing an Orbi Mesh WiFi Extender:
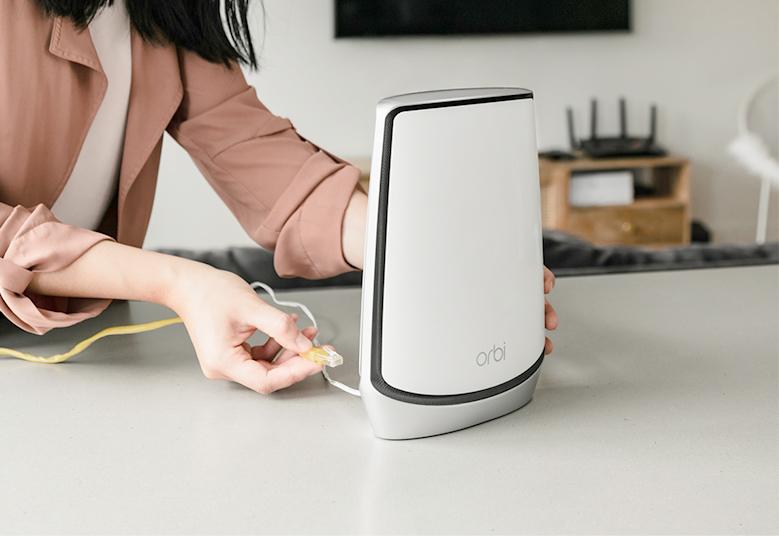
- Unbox the Orbi WiFi Extender: Remove the Orbi WiFi Extender from its packaging and ensure that all the necessary components are included.
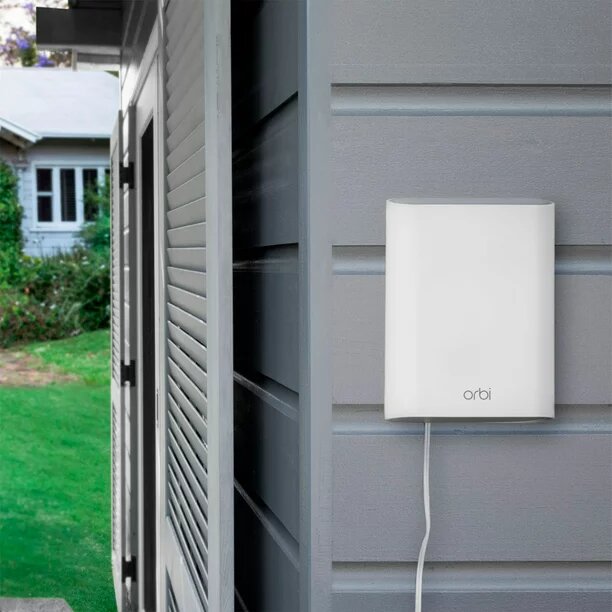
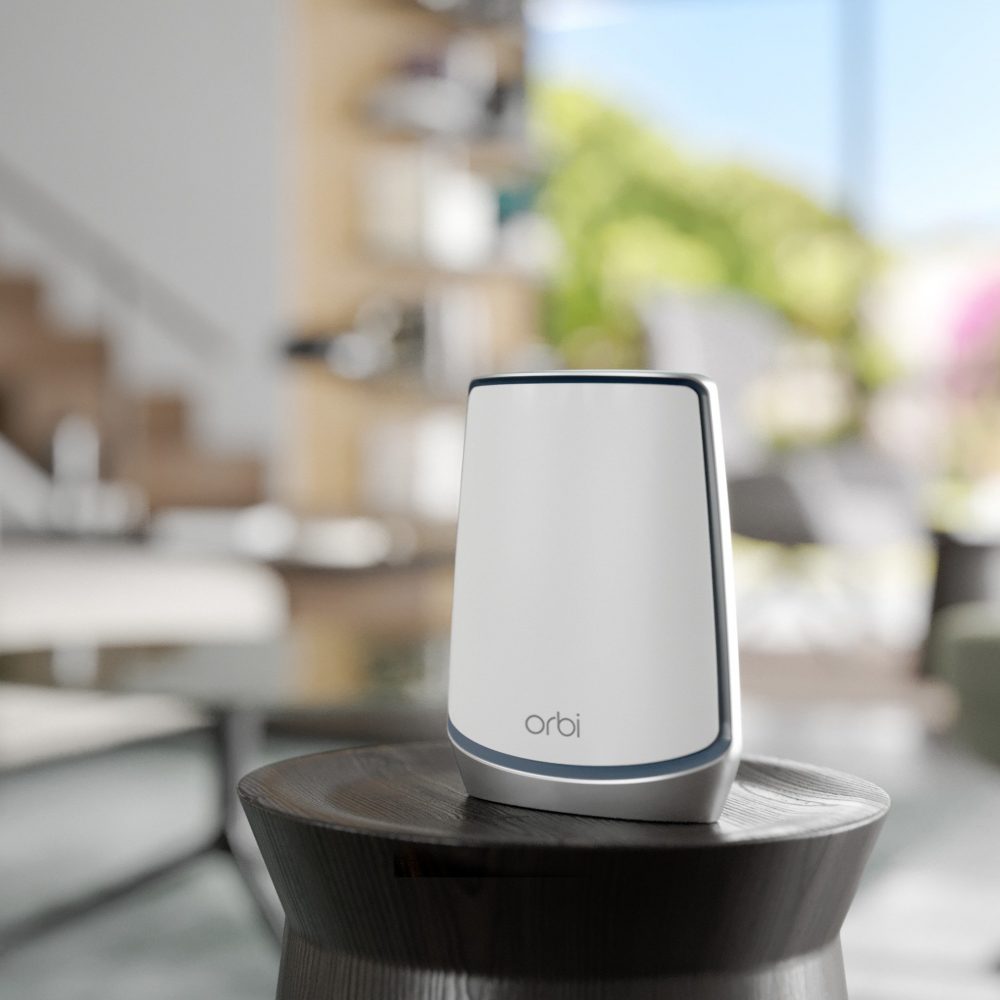
- Choose the Placement: Find an optimal location for the Orbi WiFi Extender. It should be positioned within the range of your existing router’s WiFi signal but close enough to the areas where you need extended coverage.
- Power On the Extender: Connect the Orbi WiFi Extender to a power source using the provided power adapter. Wait for the device to power on and stabilize.
- Connect to the Extender: Use a device such as a smartphone, tablet, or computer to connect to the WiFi network named “Orbi Extender” or similar. This is the default network name (SSID) broadcasted by the extender.
- Open a Web Browser: Launch a web browser on your connected device and enter “http://orbilogin.com” or “http://192.168.1.1” into the address bar. Press Enter.
- Log in to the Orbi Extender: You will be prompted to enter the default login credentials, which are usually “admin” for the username and “password” for the password. If you have changed these settings previously, enter the updated login details.
- Follow the Setup Wizard: Once logged in, you should see the Orbi Extender setup wizard. Follow the on-screen instructions to configure your Orbi extender.
- Select the Network to Extend: During the setup process, you will be prompted to select the WiFi network you want to extend. Choose your existing WiFi network from the list and enter the corresponding password if required.
- Customize Settings (Optional): You may have the option to customize certain settings, such as the extended network name (SSID), password, or advanced features like parental controls. Adjust these settings as per your preferences.
- Complete the Setup: Once you have finished configuring the settings, review the summary of your settings and click on the “Finish” or “Apply” button to complete the setup process.
- Test the Connection: After the setup is complete, check the connectivity of your extended WiFi network. Ensure that your devices can connect to the extended network and access the internet without any issues.
Setting up and installing an Orbi Satellite Extender involves the following steps:
- Unbox the Orbi Satellite Extender and gather all the necessary components.
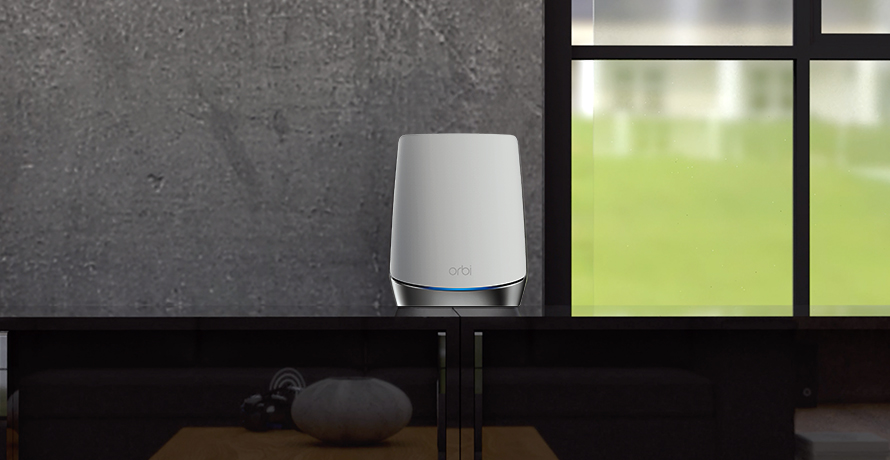
- Choose a location for the extender that is within the range of your existing Wi-Fi router but far enough to extend the coverage area. It should be placed in an area where it can receive a strong signal from the router.
- Plug in the Orbi Satellite Extender into a power outlet and wait for it to power up. The LED lights on the extender will indicate its status.
- On your computer or mobile device, connect to the Wi-Fi network named “Orbi” or “Orbi_EXT.” This network is created by the extender for initial setup purposes.
- Open a web browser and enter “orbilogin.com” or “192.168.1.1” in the address bar. This will take you to the Orbi web interface.
- If prompted, enter the default login credentials. The default username is usually “admin,” and the default password is usually “password.” Note that these may have been changed if you have previously set up an Orbi device.
- Follow the on-screen instructions to set up your Orbi Satellite Extender. This typically involves connecting the extender to your existing Wi-Fi network and creating a new Wi-Fi network name (SSID) and password for the extended network.
- Once the setup process is complete, the Orbi Satellite Extender will reboot and start providing extended Wi-Fi coverage. You can now connect your devices to the extended network.
- You may need to move the extender to a different location if the signal strength is not satisfactory. Experiment with different placements to find the optimal position for the best coverage.
- You can also manage and customize your Orbi Satellite Extender settings through the Orbi web interface or the Orbi mobile app, which provides additional features and controls.
Orbi AC3000 WiFi Extender Setup and installation Steps
- Unpack the Orbi AC3000 WiFi extender and gather all the necessary components.
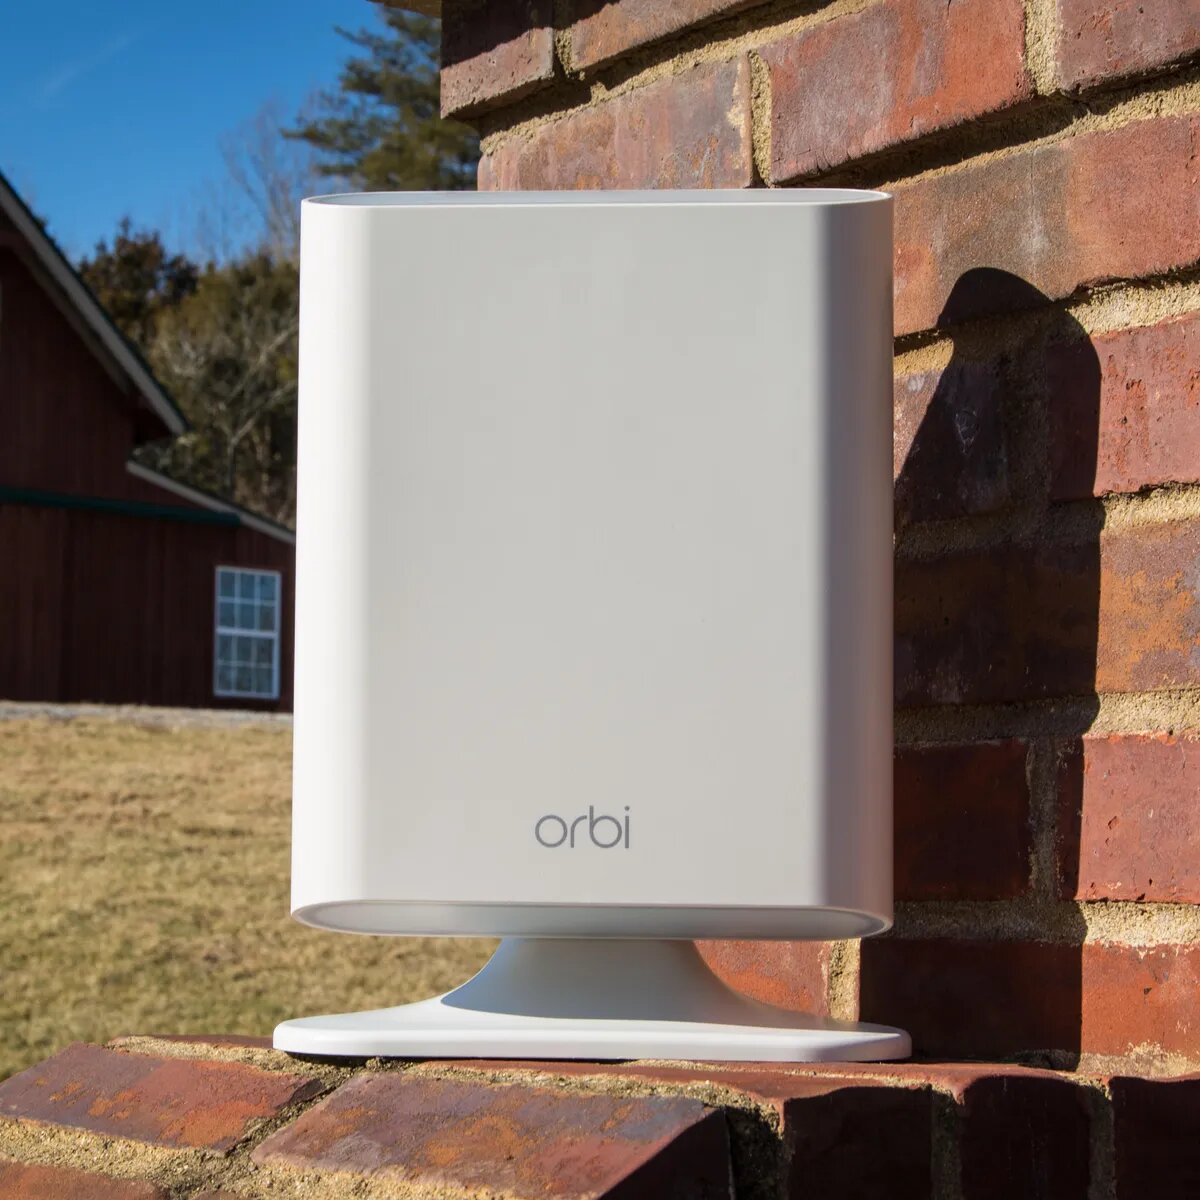
- Find a suitable location for the extender. It should be placed within range of your existing WiFi router but closer to the area where you need better WiFi coverage.
- Plug the extender into a power outlet near the area where you want to extend the WiFi coverage.
- Wait for the power LED on the extender to light solid green, indicating that it has booted up and is ready for setup.
- Connect your computer or mobile device to the Orbi extender’s WiFi network. You can find the default network name (SSID) and password on the extender or in the accompanying documentation.
- Open a web browser on your connected device and enter “http://orbilogin.com” or “http://192.168.1.1” in the address bar. Press Enter to access the Orbi extender’s setup page.
- On the setup page, you may be prompted to create an admin password. Follow the instructions to set a password for accessing the extender’s settings.
- Select the “Setup Wizard” or similar option to begin the setup process.
- The wizard will guide you through the steps to connect the Orbi extender to your existing WiFi network. This typically involves selecting your network from a list, entering the WiFi password, and choosing the network name (SSID) for the extended network.
- Follow any additional instructions provided by the setup wizard, such as configuring advanced settings or setting up a separate network for the 5GHz band.
- Once the setup process is complete, the Orbi AC3000 WiFi extender will reboot. Wait for it to finish booting up, which may take a few minutes.
- After the extender has restarted, you can test the extended WiFi coverage by connecting your devices to the new network name (SSID) you configured during setup.
Orbi AC2200 WiFi Extender Setup and installation Steps
- Unbox the Orbi AC2200 WiFi Extender and gather all the necessary components, including the extender unit, power adapter, and Ethernet cable (if required).
- Place the extender unit in a central location between your existing WiFi router and the area where you need to extend the WiFi coverage. Make sure it is within range of your router’s WiFi signal.
- Plug the extender into a power outlet near the chosen location. Wait for the power LED on the extender to light up, indicating that it is powered on.
- Connect your computer or mobile device to the extender’s WiFi network. The network name (SSID) and password can usually be found on a sticker on the extender unit.
- Once connected to the extender’s WiFi network, open a web browser on your device.
- In the browser’s address bar, enter the default web address for the extender, which is often http://orbilogin.com or http://192.168.1.1. Press Enter to proceed.
- You will be prompted to log in. Enter the default username and password, which are typically “admin” for both.
- The extender’s web interface will open, guiding you through the setup process. Follow the on-screen instructions to configure the extender.
- During the setup process, you may have the option to select your existing WiFi network and enter its password. This enables the extender to clone your router’s settings, ensuring a seamless WiFi extension.
- Once the setup is complete, the extender will reboot, and you will be prompted to reconnect your devices to the extended WiFi network. Use the same network name and password as your existing WiFi network.
- Test the WiFi signal in the previously weak or dead zones to ensure that the extender is providing the desired coverage and improved connectivity.
Note: The exact steps may vary slightly depending on the specific model of the Orbi AC2200 WiFi Extender you have. It’s recommended to consult the user manual or visit the manufacturer’s website for detailed instructions specific to your device.

Orbi Pro Mesh Wi-Fi System Setup Issue
If you’re experiencing issues with setting up your Orbi Pro Mesh Wi-Fi System, here are some steps you can take to troubleshoot the problem:
- Ensure proper hardware connections: Check that all the components of the Orbi Pro system, including the main router and satellite(s), are properly connected to power sources and Ethernet cables.
- Verify internet connection: Make sure your modem is connected to the Orbi Pro router using an Ethernet cable. Confirm that your modem has an active internet connection by connecting a device directly to the modem and checking if it can access the internet.
- Position the devices correctly: Ensure that the Orbi Pro router and satellite(s) are placed in optimal locations. Avoid obstructions such as walls, metal objects, or other electronic devices that can interfere with the Wi-Fi signal.
- Reset the Orbi Pro devices: If you’re encountering persistent issues, try resetting the Orbi Pro router and satellite(s) to their factory default settings. You can usually do this by pressing and holding the reset button on each device for about 10 seconds.
- Follow the setup instructions: Refer to the user manual or setup guide provided with your Orbi Pro system for step-by-step instructions. Make sure you’re following the correct setup process, including connecting to the default Wi-Fi network and accessing the setup interface.
- Update firmware: Check if there are any firmware updates available for your Orbi Pro system. Updating the firmware can often resolve compatibility issues and improve overall performance. You can usually find firmware updates on the manufacturer’s website.
- Contact customer support: If you’ve tried the above steps and are still experiencing issues with the setup, it’s advisable to reach out to the customer support of the manufacturer, Netgear. They will be able to provide specific guidance and assistance for your Orbi Pro Mesh Wi-Fi System.
Disclaimer: The website mywifilogon.com showcases images that do not belong to us. It operates as an independent service provider offering a wide range of third-party products, brands, and services. Any mention of trademarks, brands, products, or services on our platform is purely for reference purposes. We want to make it clear that mywifilogon.com has no direct association, affiliation, or representation with any of these brands, products, or services in any way. Our services are exclusively provided upon user request.
